with branded photo effects
Engage your customers
and interact with friends through tailor-made effects
Promote your creativity
Turn your artwork into a photo effect
and let people make use of your art
to show your support
Let other fans and supporters easily spread
the buzz about what you love
About PicBuzz
PicBuzz provides you with a web-based solution for designers that lets them create various photo templates using an easy visual-based interface.
PicBuzz was created to let everybody benefit from our experience in creating photo templates of all kinds: different photo collages and realistic photo montages, face-in-hole effects, various photo frames (simple and complicated), photo filters and textures etc. To get an idea about what kind of photo templates you can create with PicBuzz, please visit http://funny.pho.to/ or see our mobile apps: (Photo Lab for iOS and Photo Lab for Android.
Any questions? Contact us to get help or discuss the opportunities.
What is a PicBuzz photo template?
Generally speaking, a photo template is a multi-layer file with one of the layers containing a user image. PicBuzz spares you the need to hire a staff of developers, generate xml files and do other non-artistic stuff to create a photo template like the ones we talk about. You provide only your artwork (an image with a semi-transparent “hole”) and use our visual-based interface to turn it into a ready-to-use photo product. With PicBuzz you will easily create your own photo templates and share them via web or via mobile app.
Step-by-step instructions
1. Getting started
Selecting a template type
First of all, select the type of a template you are going to create (by clicking on a corresponding preview):
- Choose the 1st type if you want to create a regular photo template with a quadrangular user photo area;
- Choose the 2nd type if you want to create a face-in-hole photo effect.
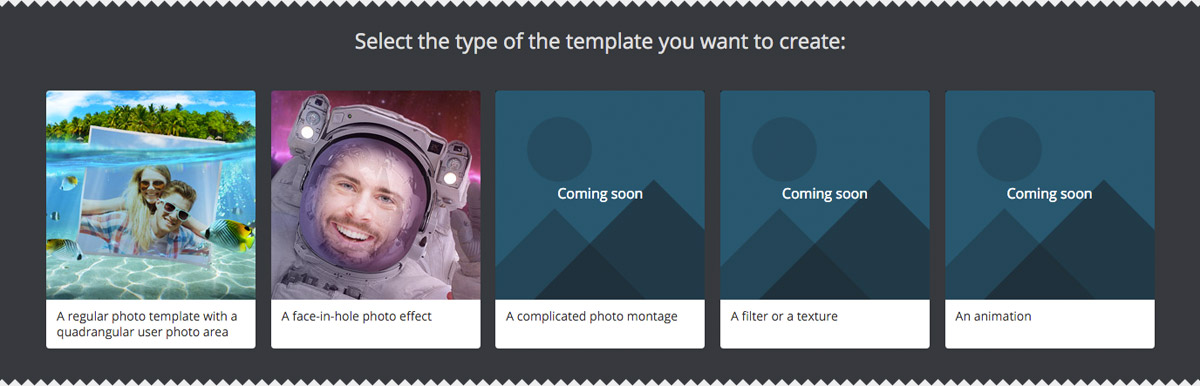
Other types (complicated montages, filters and animated effects) are not available at the moment.
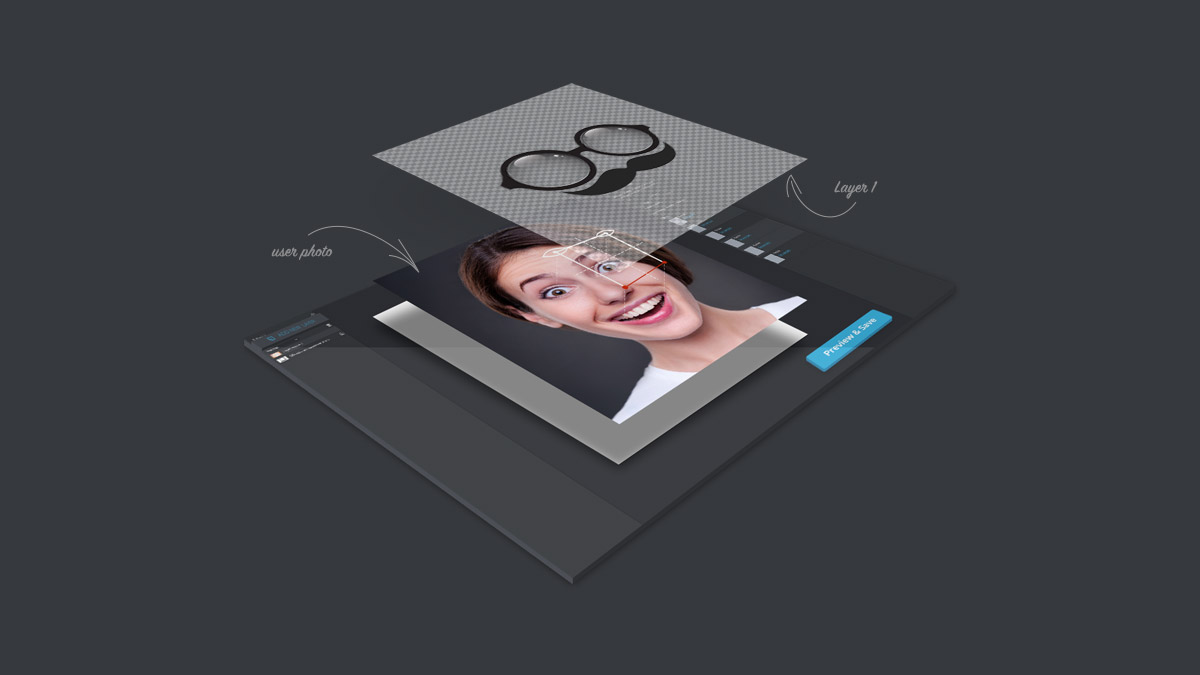
Uploading the first layer
After selecting your template type, you need to upload the first layer. If you have used Photoshop, you must be familiar with using layers to composite multiple images. We use layers in the same way to create photo templates.
When you start a new template, the background layer (the one that contains the user photo area) is added automatically. Start by adding the first layer that will be placed above the background layer. As soon as you have uploaded your first layer, you get into the template editor.
2. Using the template editor
If you are familiar with using Photoshop or other similar software, you must be quite at home with PicBuzz.
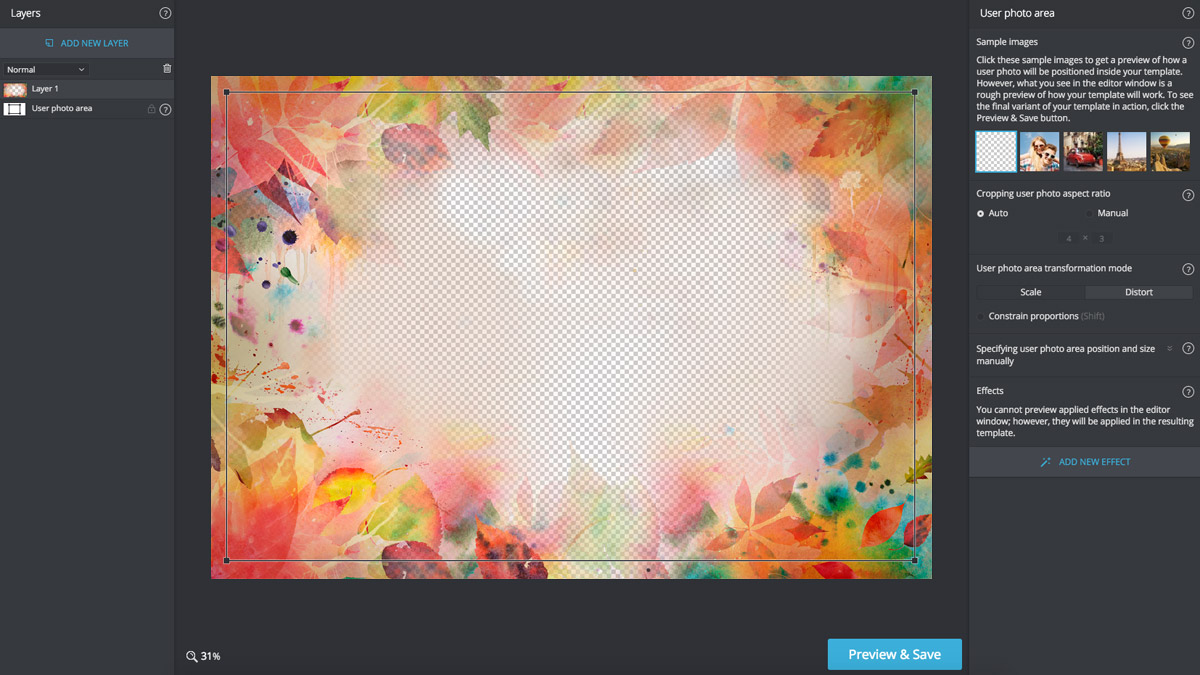
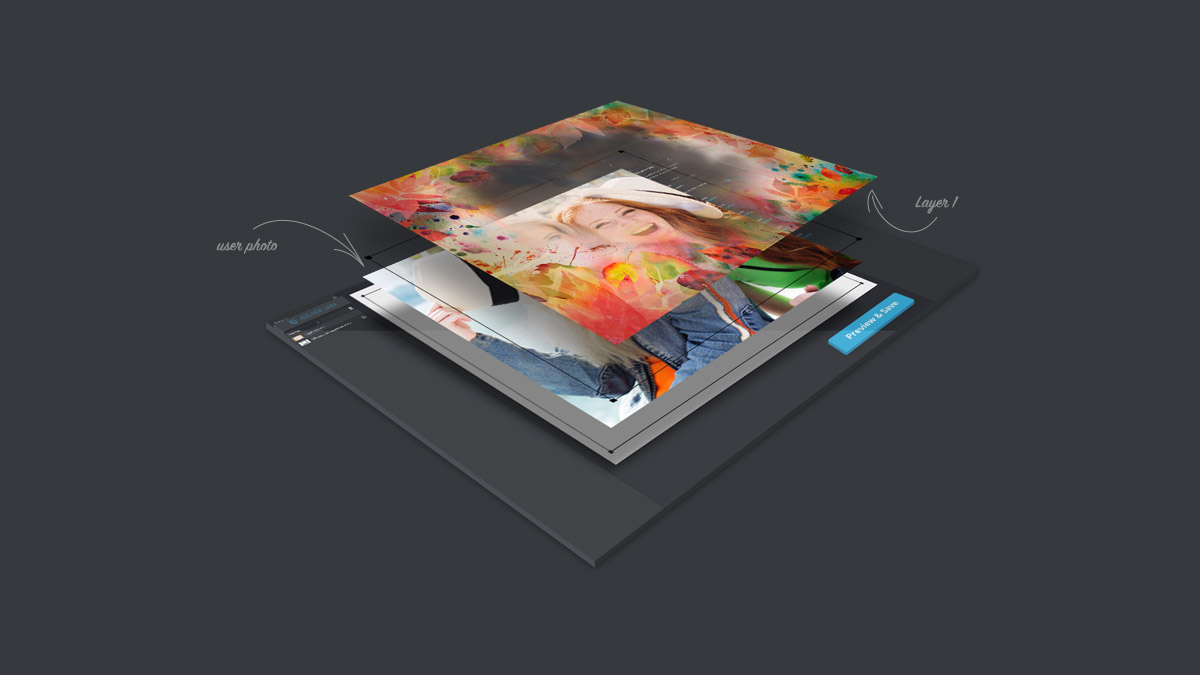
As you see, the central part of the interface is occupied by the template preview window - this is where you can roughly preview the changes you make to your template and adjust the user photo area (a quadrangular area that a user photo will be inserted into). To the left, there is the Layers Panel. To the right of the template preview window there are controls and options letting you edit and adjust the user photo area in your template.
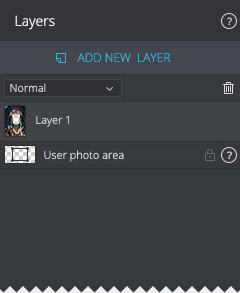
Using the Layers Panel
The Layers Panel to the left of the template preview window lists all layers in a template, displaying their names and thumbnails. This panel helps you organize and manage your layers.
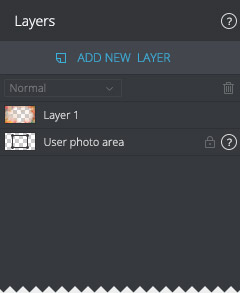
- To add a new layer, click the ADD NEW LAYER button. You can add up to 10 layers (files in jpeg, png & bmp format are accepted). All uploaded images should have the same resolution and size in pixels.
- To delete a layer, highlight it and click the basket icon above the Layers list.
- To rearrange layers, drag a layer up or down in the Layers panel.
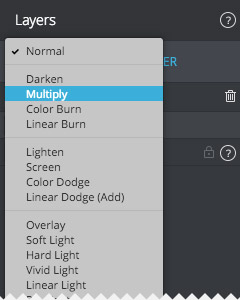
You can also change layer blending modes (blending modes determine how the pixels in a layer blend with pixels on underlying layers).
- To change a layer blending mode, click the Blending Modes drop-down menu (which is set to Normal by default), then select a blending mode to immediately apply it to the selected layer:
About the background layer & the User photo area
As we said before, the background layer (the one that contains the user photo area) is added automatically as soon as you start your template. This layer is always at the bottom; all new layers are stacked on top of it. Moreover, this layer is locked - you cannot move or delete it.
The user photo area is a quadrangular area inside your template that a user photo (an image uploaded by a user) will be inserted into. You can change the size and position of this area easily by clicking and dragging control points at the corners.
Using the User photo area edit panel
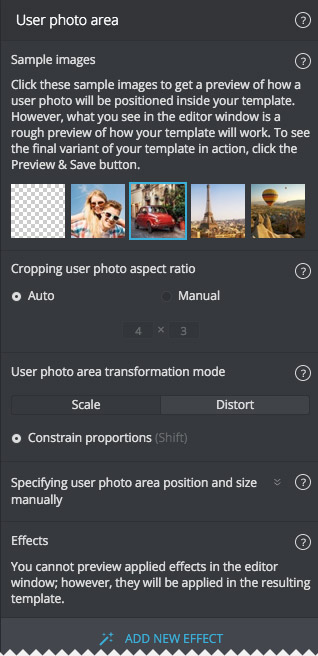
To the right of the Template preview window there are controls and options letting you edit and adjust the user photo area in your template: change its position inside the template, scale and distort it, as well as apply filters to it.
Using the given samples
Click the given sample images to get a preview of how a user photo will be positioned inside your template.
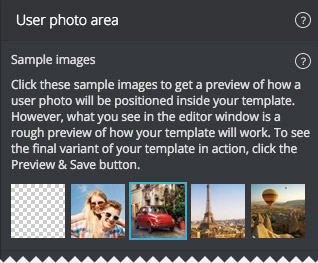
NB: Please take into account that what you see in the editor window is a rough preview of how your template will work. To see your template in action, click the Preview & Save button after you’ve made all the changes to your template
Cropping user photo aspect ratio
To fit into a template properly, a user photo must have the same aspect ratio as the user photo area inside your template. There are two modes that define how user photo proportions will be set:
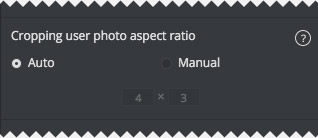
- Select the Auto mode if you want a user photo to be cropped automatically to make it fit into the user photo area (this mode is most handy if the user photo area is rectangular).
- Select the Manual mode to specify the aspect ratio manually (this might be handy if the area has perspective distortions or if you want to specify unusual aspect ratio).
Choosing the proper Transformation mode
There are two modes that you need to choose from when reshaping or resizing the user photo area:

- The Scale mode lets you scale your user photo area horizontally, vertically, or in both directions. To maintain its aspect ratio when scaling, check the Constrain Proportions radio button (alternatively, hold the Shift key to constrain the proportions).
- The Distort mode enables you to freely transform the user photo area: skew or distort it to apply perspective to it.
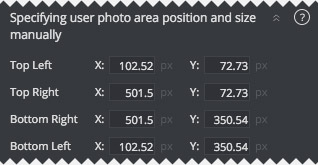
Specifying user photo area position and size manually
Besides adjusting your user photo area by moving its control points, you can specify its position and size manually. In case you know the original coordinates of this area (if you previously found them in Photoshop), just enter these values into the corresponding boxes:
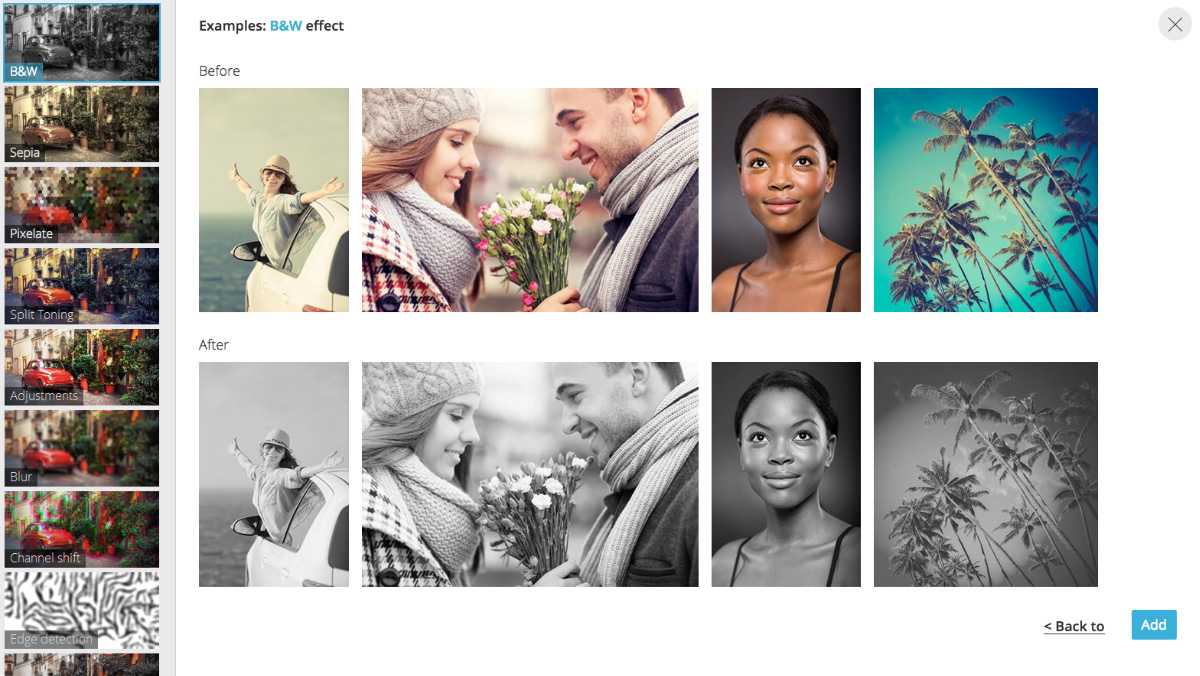
Adding effects to a user photo
You can set your template to apply different effects and filters to a user photo inside it. To do so, click the ADD NEW EFFECT button, select a filter you want to apply to a user photo when placed into the template and click the Add button situated below the sample images:
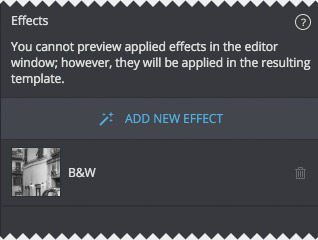
NB: Mind that you cannot preview applied effects in the editor window; however, they will be applied in the resulting template.
All the effects you have added will be listed under the ADD NEW EFFECT button. You can delete an effect by clicking the basket button to the right of its name:
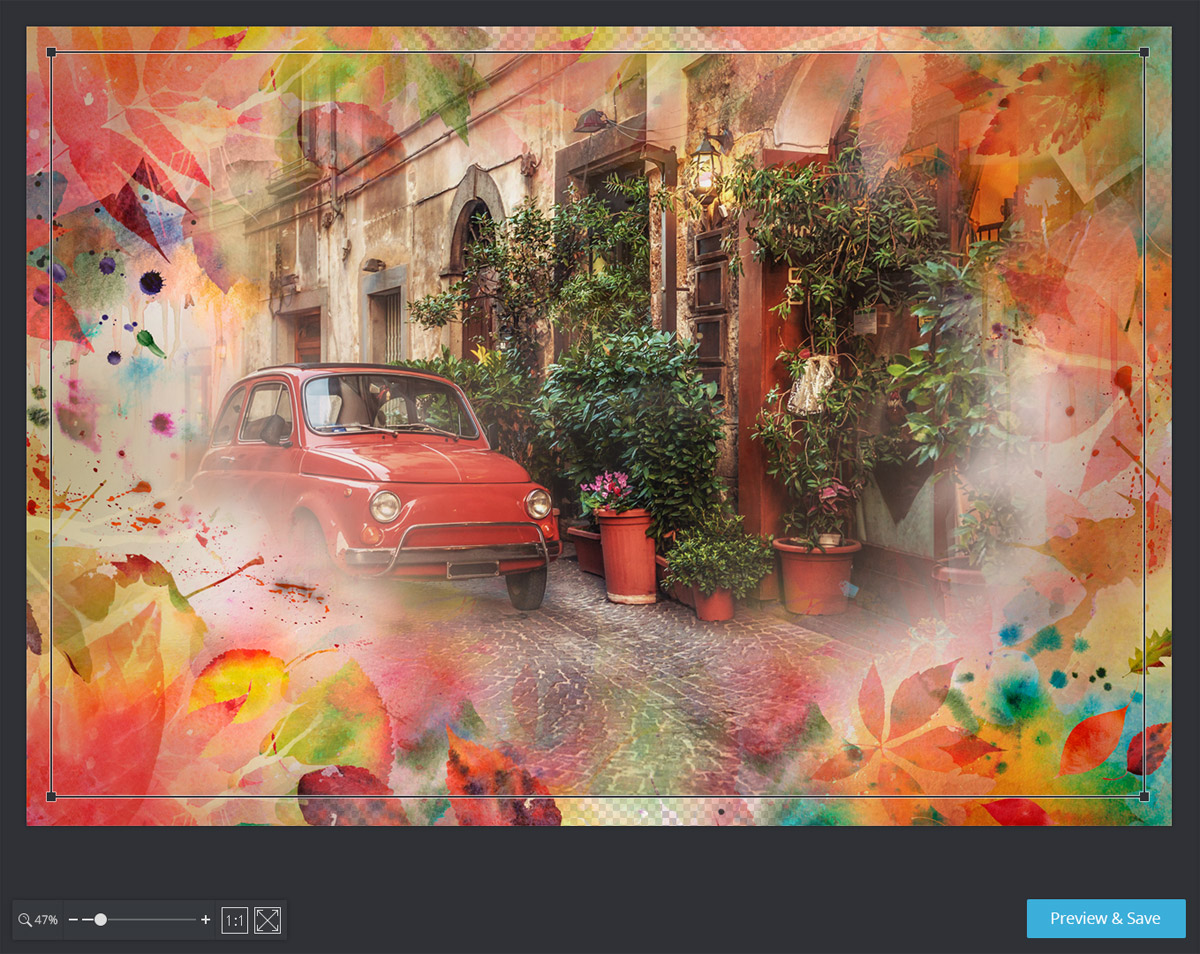
After you’ve made all the changes to your template, click the Preview & Save button below the template preview window to be able to test and save your template:
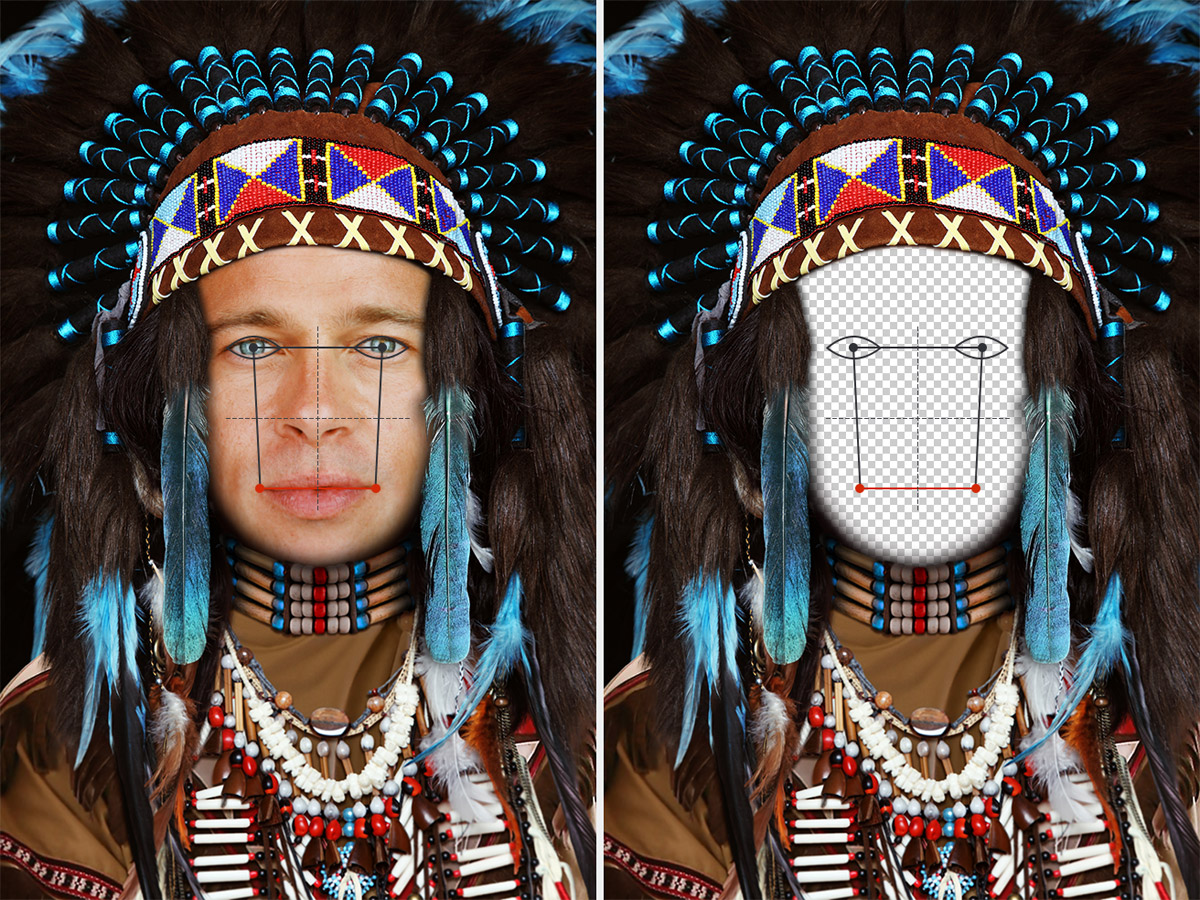
Peculiarities of creating a face-in-hole template
Creating a face-in-hole effect has pretty much the same logic as creating a regular photo template. The main difference is the following: the background layer for face-in-hole templates contains 4 feature points indicating eye pupils and mouth corners. These points determine how a face taken from a user photo will be positioned inside your template (advanced face feature detection algorithm is used to insert a face properly).
These feature points are adjustable - you can move them by clicking and dragging in the same way as you adjust points in a regular template. The layer above the background layer needs to have a transparent hole in the shape of a face.
This is how your layers can be organized in case you are creating a face-in-hole template:
3. Saving your template
After clicking the Preview & Save button, you get into the window letting you test and publish your template:
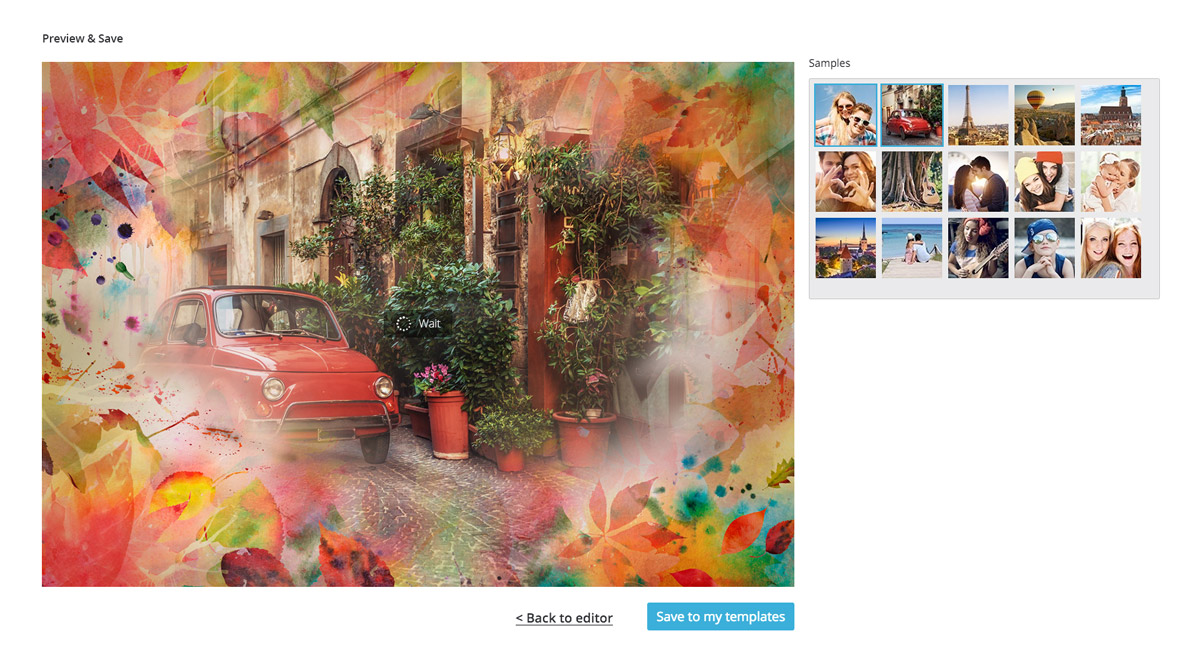
Use the given sample images (to the right of the preview window) to insert them into your template and test how it works. If you are satisfied with results, click the Save to my templates button under the preview window to publish your template in your admin panel.
NB: To have access to your admin panel and be able to publish your template, you need to be logged in. If you are not, a Sign in/Sign up window will open.
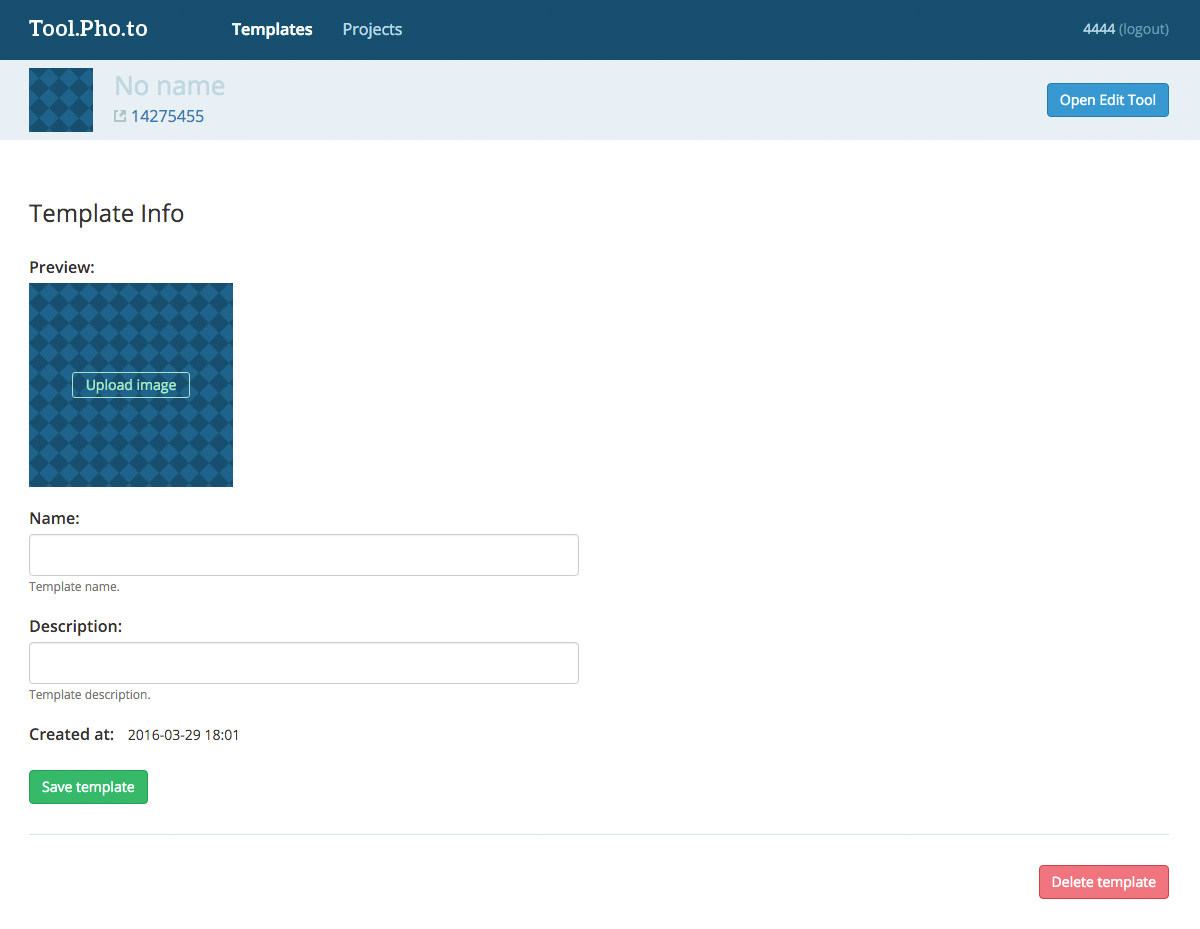
Once you are signed in, you will be taken to the template’s page in your admin panel where you can enter its name / description, as well as upload its preview image: